From Dusty Shelf to First Roll: Your Field Guide to Rescuing Vintage Film Cameras
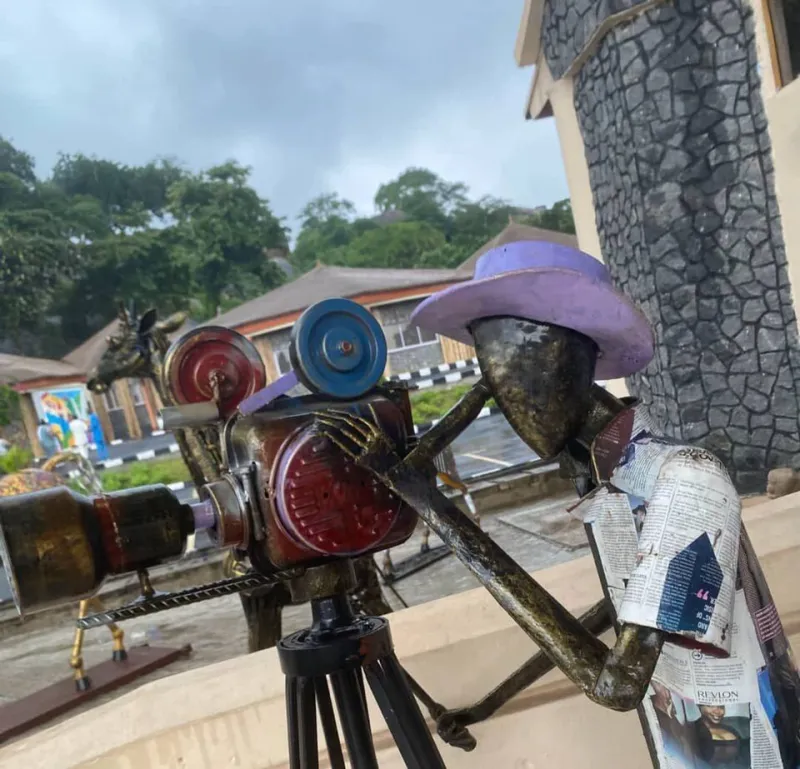
Photo: Bembety, CC BY-SA 4.0, via Wikimedia Commons
The Hunt Is Half the Fun
There's a particular kind of excitement that hits when you're digging through a bin at a Goodwill or wandering an estate sale and you spot it — a camera. Maybe it's a Minolta X-700 with a cracked strap lug. Maybe it's a Canonet QL17 buried under a pile of VHS tapes. Maybe it's something you don't even recognize yet. Whatever it is, something in your gut says pick it up.
Vintage camera hunting is one of the great low-key hobbies of the analog photography world, and right now, with 35mm film enjoying a genuine resurgence, it's more rewarding than ever. Cameras that sat forgotten in attics for thirty years are finding their way back into active service, making photographs again, doing what they were built to do.
But not every thrift store find is a diamond in the rough. Some cameras are genuinely beyond saving. Others need only a basic cleaning and a fresh battery. Knowing the difference — and knowing what to do once you've brought something home — is what separates a smart rescuer from someone with a shelf full of broken paperweights.
This guide will walk you through the whole process.
Where to Find Them
The obvious starting point is thrift stores — Goodwill, Salvation Army, local charity shops. Camera finds here are hit or miss, but the prices are usually low enough that even a gamble feels reasonable. Estate sales are often better hunting grounds; you're more likely to find cameras that were actually used and cared for by photographers rather than just random donations. Apps like EstateSales.net and Estatesale.com let you browse upcoming sales in your area.
Flea markets and antique malls are solid options too, though sellers there tend to price cameras higher because they know what they have. eBay is useful for research and for finding specific models, but you'll rarely find the bargain-basement deals you can score in person.
Don't overlook Facebook Marketplace and local buy-nothing groups either. People give away cameras constantly, often just wanting them to go to someone who'll actually use them.
The Quick Assessment: What to Check Before You Buy
When you pick up a camera, you've got maybe two minutes to do a fast triage. Here's what to look for:
The shutter: If you can, fire it. It should sound crisp and decisive across all speed settings. A sticky, sluggish, or inconsistent shutter is a red flag — though not necessarily a dealbreaker, since slow shutter blades are one of the most common and fixable issues in vintage cameras.
The lens (if it's a fixed-lens camera or comes with a lens): Hold it up to a light source and look through it. You're checking for haze, fungus (which looks like wispy spider webs inside the glass), and deep scratches. Light haze can sometimes be cleaned. Fungus is trickier and can etch glass permanently. Heavy scratches are generally a pass.
The light seals: Open the back of the camera. The foam strips along the door edge and in the film channel are light seals, and they degrade over time into a sticky, crumbly mess. Deteriorated seals are extremely common in cameras from the 70s and 80s, but they're also one of the easiest fixes in camera repair — new seal kits cost just a few dollars online.
The film advance and rewind: Try advancing the lever and see if it engages smoothly. Check that the rewind knob turns freely in the opposite direction.
The battery compartment: Look for corrosion. Light surface corrosion can be cleaned with a pencil eraser or a small amount of white vinegar on a cotton swab. Heavy, green-crusted corrosion that's eaten into the contacts is harder to deal with and may affect the camera's metering permanently.
The mirror (for SLRs): It should be clean and bright. A mirror with spots or coating degradation won't affect the actual photo (the light hits the film, not the mirror), but it makes composing shots difficult.
Which Cameras Are Worth Your Time
Some camera families are beloved for a reason — they're well-built, parts and repair information are widely available, and the results are excellent. A few categories worth prioritizing:
Compact 35mm cameras (rangefinders and point-and-shoots): Canonet QL17, Olympus Stylus (Mju) series, Yashica Electro 35, Minox 35 — these are capable cameras with devoted followings. The Olympus Stylus Epic in particular is one of the sharpest point-and-shoots ever made and shows up at thrift stores with some regularity.
Manual SLRs: Pentax K1000, Minolta X-700, Canon AE-1, Nikon FM series — these are workhorses. Fully mechanical cameras (like the K1000) are especially resilient since there's less electronics to fail. The Canon AE-1 is arguably the most common vintage SLR in America; parts and repair guides are everywhere.
Medium format, if you're feeling ambitious: Yashica-Mat, Mamiya C series, Holga for budget fun — medium format gives you a bigger negative and often stunning image quality, though these cameras require a bit more know-how to service.
Cameras generally worth passing on: anything with a seized lens that won't focus or zoom, bodies with visible shutter curtain damage (holes or tears), and cameras where the film door won't close properly due to bent metal rather than just worn seals.
Basic Cleaning: What You Can Do at Home
You don't need a professional repair shop for most basic restoration work. Here's what a typical cleaning session looks like:
Exterior: Use a slightly damp microfiber cloth for the body. A soft toothbrush handles textured leatherette nicely. For stubborn grime in crevices, a cotton swab dipped in isopropyl alcohol (90% or higher) works well. Avoid getting any moisture near the shutter or lens internals.
Viewfinder and mirror: Use a blower bulb first to clear dust. For smudges on the viewfinder eyepiece (the external glass), a lens cleaning cloth works fine. The internal mirror should only be touched with a very soft brush or blower — mirrors are front-silvered and extremely easy to scratch.
Light seals: This is the job that makes the biggest practical difference. Order a seal kit specific to your camera model from Aki-Asahi (a go-to source in the film community), remove the old foam with a toothpick and cotton swabs dampened with isopropyl alcohol, clean the channels thoroughly, and apply the new foam. It sounds intimidating; it's actually quite manageable with a little patience.
Slow/sticky shutter blades: This is where things get more advanced. Shutter blades that move slowly are usually gummed up with old oil. Some photographers use a tiny amount of lighter fluid (naptha) applied carefully with a fine brush to dissolve the residue. This works but requires confidence and a steady hand. If you're not comfortable, a camera repair technician can do a shutter CLA (clean, lubricate, adjust) for a reasonable fee — usually $50 to $100 depending on the camera.
Testing Before You Trust It
Before you load your good film, run a test roll. Cheap expired film or a sacrificial roll of Kodak ColorPlus works great for this. Shoot at various shutter speeds and apertures, both indoors and out. Include some shots with strong backlight to check for light leaks.
When you get the scans or prints back, look for: consistent exposure across the roll, sharp focus (on cameras with manual focus, verify the focus scale is accurate), no light leak streaks or fogging, and proper frame spacing.
If something's off, you'll have a much better idea of what needs attention before you commit a roll of Portra 400 to the cause.
The Bigger Picture
Restoring a vintage camera is about more than saving a few bucks on gear. These objects were built to last, and in many cases, they genuinely have — decades of sitting in a drawer haven't killed them, just put them to sleep. Bringing one back into service is a small act of preservation, a way of keeping photographic history functional rather than just decorative.
And when you shoot your first successful roll through a camera you pulled from a thrift store bin and brought back to life yourself? That's a feeling that's pretty hard to beat.
Get out there and dig.