Your Bathroom Is a Darkroom: Developing Film at Home Without a Dedicated Space
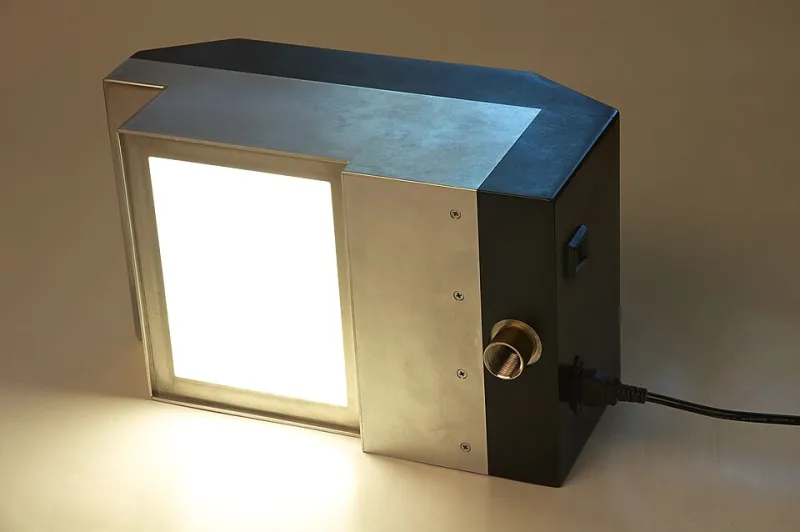
Photo: Dmitry Makeev, CC BY-SA 4.0, via Wikimedia Commons
Let's get one thing straight right away: you do not need a dedicated darkroom to develop your own film. That idea — that you need some mystical, purpose-built black room with a red safelight and a sink the size of a canoe — has kept more people from diving into home development than any other myth in analog photography. The truth is messier and way more exciting. Your bathroom, the one you brush your teeth in every morning, is probably already 80% of the way there.
This isn't about cutting corners. It's about understanding what film development actually requires, stripping away the intimidation factor, and getting your hands into chemistry without dropping serious cash on darkroom rentals or waiting weeks for a mail-in lab to return your negatives.
What Film Development Actually Needs (Spoiler: It's Not Much)
Black-and-white film development — which is the best starting point for home processing — breaks down into a surprisingly short list of requirements. You need darkness, but only for the first few minutes while you load your film onto a developing reel and seal it inside a light-tight tank. After that, you need temperature control, running water, and a handful of chemicals. That's it.
The darkness requirement is the one that scares people off, but here's the key insight: you don't need the room to stay dark for the entire process. Once your film is loaded into a daylight-compatible developing tank — and tanks like the Paterson Super System 4 or the Jobo 1520 are specifically designed for exactly this — you can flip on every light in your apartment and the film inside is completely protected.
So the only moment where genuine, total darkness matters is during the loading step. And that's where your bathroom earns its place in this story.
Sealing Your Bathroom: Cheaper Than You Think
Most bathrooms are already surprisingly dark once the lights are off and the door is closed. The real enemy is light bleed — that thin strip of hallway light sneaking under the door, or the glow from a nightlight down the hall. These tiny intrusions are enough to fog your film, and that's a disaster you want to avoid.
The fix is almost embarrassingly low-tech. A rolled-up bath towel pressed against the bottom of the door handles the gap underneath. For the door frame itself, a few strips of black gaffer tape or even a heavy blanket draped over the door works remarkably well. Spend five minutes doing this, then sit inside with the lights off for two to three minutes. Let your eyes adjust fully. If you can see anything — a sliver of light, a glowing outlet, a smoke detector LED — track it down and block it.
This "dark test" step is something experienced home developers swear by. Do it every single time, even if you've used the same bathroom a dozen times before. Lighting conditions change. Seasons change. Your neighbor's porch light goes on at different hours. Two minutes of patience here saves an entire roll.
Temperature Control Without a Fancy Water Bath
Chemistry temperature is where a lot of new home developers start to panic. Most black-and-white developers — Kodak D-76, Ilford ID-11, Rodinal — want to work at or near 68°F (20°C). Stray too far in either direction and your development times go sideways, along with your contrast and grain structure.
But here's where the bathroom works in your favor again: your sink is already hooked up to both hot and cold water. A basic kitchen thermometer, a pitcher or two, and a little patience is all you need to dial in your chemistry temperature before you start. Mix your developer in a pitcher, check the temp, and adjust with small additions of hot or cold water until you hit your target. It's low-fi chemistry at its finest.
For keeping your tank at temperature during the development process itself, a simple water bath works beautifully. Fill your sink with water at the target temperature, set your developing tank in it, and top it off as needed. No sous vide machine required. No specialized equipment. Just a sink and a thermometer you probably already own.
If your tap water runs unusually warm (a real issue in summer months across the South and Southwest), keep a few water bottles in the fridge and use them to cool your chemistry down. Conversely, if you're developing in a cold apartment in January, a brief dip in warm tap water brings your chemicals up to speed quickly.
The Minimal Gear List That Gets You Started
Let's talk money, because this is where home development becomes genuinely compelling compared to lab fees. A basic home development kit for black-and-white film includes:
- Developing tank and reels (Paterson Super System 4 is the go-to for most 35mm shooters — around $30–40 new, less used)
- A changing bag (optional but helpful if your bathroom light seal isn't airtight — around $20)
- Chemistry starter kit (Kodak D-76 or Ilford Ilfosol 3 developer, stop bath, and fixer — budget around $30–50 for enough to process 20+ rolls)
- Thermometer ($10–15 for a basic darkroom or kitchen model)
- Graduated cylinders or measuring cups (reuse old kitchen ones or grab cheap measuring cups from a dollar store)
- Film clips or clothespins for hanging your negatives to dry
All in, you're looking at somewhere between $80 and $120 to get fully set up. Compare that to $15–25 per roll at a mail-in lab, and you're breaking even after five or six rolls. After that, you're saving real money every single time you develop.
Making the Workflow Actually Work in a Small Space
Apartment bathrooms aren't exactly spacious, and that's fine. The trick is to prep everything before you go dark. Set out your chemicals in labeled containers. Have your tank and reel ready. Know where your film is. Practice loading a sacrificed roll onto your reel in the light until you can do it by feel alone — because when the lights go out, feel is all you've got.
Once your film is loaded and sealed in the tank, you're home free. Move to the kitchen counter, the dining table, wherever has more room. The tank is now fully light-safe and you can develop, stop, fix, and wash your film anywhere you like.
Hanging your negatives to dry? A shower curtain rod is genuinely perfect for this. Clip your strip of film up with clothespins or binder clips, let it hang in a dust-free environment, and resist the urge to touch it for at least an hour.
The Bigger Picture
Developing your own film changes your relationship with photography in a way that's hard to explain until you've done it. Watching your images appear in a scan or on a light table, knowing that you exposed them and processed them yourself, hits differently than dropping a roll off at a counter and picking up a USB drive a week later.
Your bathroom isn't a compromise. It's a starting point. Plenty of serious film photographers have been developing in makeshift home setups for years — not because they can't afford something better, but because they realized they didn't need it. The craft doesn't live in the equipment. It lives in the process, and the process fits in a bathroom just fine.
Grab a tank, seal the door, and get your chemistry ready. Your negatives are waiting.