Why Your Film Stock Is Lying to You (And What to Do About It)
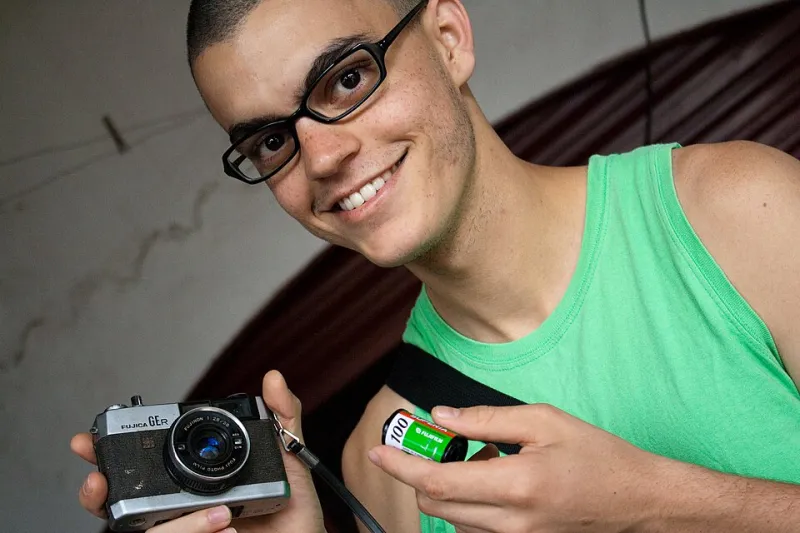
Photo: Marco Gomes from São Paulo, Brasil, CC BY 2.0, via Wikimedia Commons
You spent real money on that roll of Portra 400. You'd seen the Instagram galleries, the sample scans, the YouTube side-by-sides. Warm skin tones. Lifted shadows. That signature creamy latitude everyone keeps raving about. Then your scans landed in your inbox and you sat there squinting at something that looked vaguely greenish, a little flat, and about as warm as a Cleveland February.
Welcome to the color shift conspiracy — not a scandal, exactly, but a quiet truth that every serious analog shooter eventually bumps into. Film color is not a fixed property. It's a negotiation between a dozen different variables, and the box art is essentially a best-case scenario.
Let's break down what's actually happening.
The Emulsion Is Just the Starting Point
Every film stock has a designed color response — a set of chemical layers tuned to react to specific wavelengths of light in specific ways. Kodak, Fuji, Cinestill, Lomography — they all publish their color curves and dye couplers, and in a lab environment with controlled lighting and fresh chemistry, those stocks will behave close to spec.
But you're not shooting in a lab environment. You're shooting under tungsten bulbs at a birthday party in Ohio, or in the blue-hour haze of a Pacific Coast afternoon, or under the sickly green wash of fluorescent lights in a diner off Route 66. Daylight-balanced film was designed for a color temperature around 5500K. Drift significantly from that and the emulsion doesn't know what to do — it just responds to what it gets. Tungsten light pushes everything amber-orange. Overcast skies add cool blue casts. Shade can go almost purple depending on the film.
Shoot the same roll of Ultramax 400 in five different lighting conditions and you'll essentially get five different films.
Storage Conditions Change the Game More Than You Think
Film is a perishable product. Most shooters know to refrigerate their stock, but fewer understand how pre-purchase storage history affects color balance. That brick of Fuji Pro 400H you grabbed off a camera shop shelf in July? It may have spent weeks in a hot warehouse or a delivery truck baking in the sun.
Heat accelerates the degradation of color dye layers — and crucially, it doesn't degrade them evenly. Different color layers break down at different rates, which means a heat-stressed roll often shows color casts that have nothing to do with your shooting conditions. You might see elevated reds, muddy greens, or shadows that shift toward magenta. It looks like a processing error, but it happened before the roll was ever loaded.
If you're buying film from a retailer you don't fully trust, shoot a test roll first. It's a boring piece of advice, but it saves you from blaming your technique for something that was broken before it hit your camera.
The Chemistry Variable Nobody Talks About
C-41 is supposed to be a standardized process. And in theory, it is — the temperatures, times, and chemical ratios are tightly defined. In practice, your local lab's chemistry is at some point in its exhaustion cycle, the temperature regulation on their machine drifts a couple tenths of a degree, and the technician running the line is maybe on their third coffee of a long shift.
None of this is catastrophic. But all of it nudges color. Slightly exhausted developer can pull reds toward orange. Inconsistent bleach timing affects shadow density. Cross-contamination between chemistry baths — rare but real — can introduce unexpected color shifts that look almost intentional until you realize they aren't.
This is why analog photographers develop strong relationships with specific labs. When you shoot the same film at the same lab repeatedly, you learn the lab's tendencies. You learn that they run a little cool and your Ektar always comes back slightly more saturated than expected, or that their Portra scans trend slightly warm. That knowledge is genuinely valuable. It lets you compensate in-camera — slightly underexposing to rein in that warmth, or pushing a stop to punch up a flat result.
Your Scanner Is Rewriting the Story
Here's where things get philosophically complicated. Even if you nail the exposure, the storage is perfect, and the lab runs immaculate chemistry — the scan can still completely misrepresent the negative.
Film scanners read a negative and make interpretive choices. The software decides what neutral gray looks like. It makes assumptions about highlight rolloff and shadow recovery. Most flatbed scanners — the Epson V600, the Plustek 8100 — apply automatic color correction by default, and that correction is based on an algorithm that has no idea what you were going for when you pressed the shutter.
Professional drum scans are better, but they're expensive and still involve human decisions about density and color balance. Even high-end lab scans — the Frontier and Noritsu machines that most good labs use — apply their own film profiles, and those profiles vary between machines and between labs.
The practical takeaway: if you're judging a film stock based on someone else's scans, you're judging their scanner and their lab as much as the film itself. When you see those gorgeous Portra beach shots online, you're often looking at a Noritsu scan from a boutique lab that specifically tuned their profiles for that stock. Your Walgreens scan of the same roll is going to look very different.
How to Actually Predict and Control Your Results
None of this means film color is random. It means it's complex — and complexity is manageable once you know the variables.
Shoot consistent lighting when you're learning a new stock. Overcast daylight is the most neutral condition you can find. It gives you the closest read on the film's actual character before you start introducing variables.
Find a lab and stick with it. Seriously. The photographers who know their film best are the ones who've shot hundreds of rolls through the same lab. The consistency teaches you more than any forum post.
Request raw scans. Many labs offer the option to receive scans without auto-correction applied. It looks flat and sometimes a little weird at first, but it gives you the actual negative data to work with in Lightroom or Capture One rather than fighting against someone else's interpretation.
Keep notes. Old-school, yes — but writing down your shooting conditions, the age of your film, and the lab you used turns a confusing mystery into a pattern you can actually read.
Embrace the drift, selectively. Some of the most interesting analog color work happens when photographers lean into unexpected shifts rather than fighting them. That greenish cast on your underexposed Kodak Gold? It might be exactly the vibe you were looking for. The trick is knowing when a shift is a mistake and when it's a discovery.
Film color has never been a simple transaction between emulsion and image. It's a chain of decisions — yours, the lab's, the scanner's — and every link in that chain leaves a fingerprint. The photographers who get the most out of analog aren't the ones who expect the box to deliver on its promise. They're the ones who understand why it doesn't, and use that knowledge to take control of the frame.