Your Film Archive Is a Gold Mine — Here's How to Actually Dig It Out
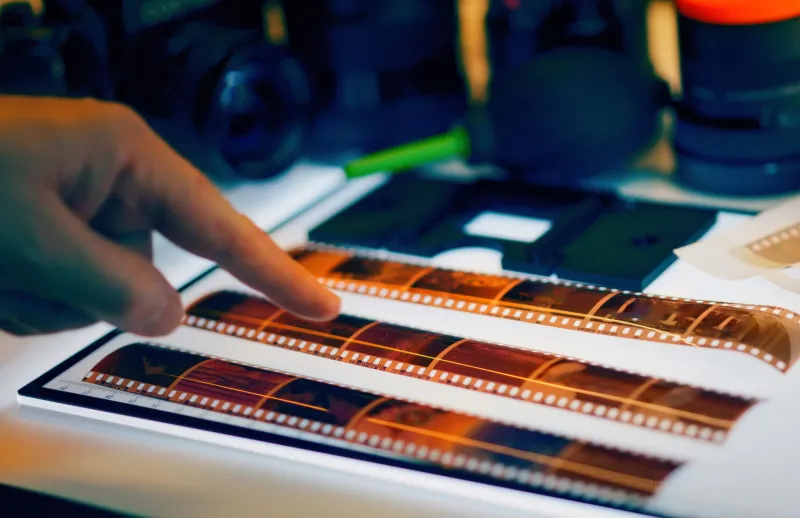
Somewhere in your house — maybe a shoebox under the bed, maybe a banker's box in the garage, maybe a stack of plastic sleeves shoved into a filing cabinet — there are film negatives. Could be yours from the early 2000s. Could be your parents' slides from a road trip in 1978. Could be a collection you picked up at an estate sale without thinking too hard about what was on them.
For a long time, those negatives just sat there. Getting them printed was expensive and slow, and digital scanning felt like a project too big to start. But something has shifted in the last couple of years. The tools for digitizing and working with analog negatives have gotten genuinely good, AI-assisted processing has become accessible to non-technical users, and a growing community of hybrid film photographers is treating their archives not as artifacts but as active creative material.
Here's how to actually get into yours.
Understanding What You're Working With
Before you scan a single frame, it helps to know what you've got. Negatives come in a few main formats that you'll encounter in most American home archives: 35mm strips (the most common), 120 medium format rolls, and mounted 35mm slides. Each requires slightly different handling and scanning approaches.
Condition matters a lot. Negatives stored in cool, dry conditions — even imperfectly — often survive decades remarkably well. Look for obvious issues: vinegar syndrome (a sharp acidic smell indicating acetate breakdown), significant mold growth, or physical brittleness. Most negatives you'll find in typical household storage are in better shape than you'd expect. A little dust and some minor scratches are normal and very manageable.
If you're working with someone else's archive — family negatives, estate finds, anything with unknown provenance — take a moment before you start. There's a quiet ethical dimension to digitizing images of people who didn't know their pictures would eventually live on a hard drive. Handle that thoughtfully.
Scanning Options: What's Actually Worth Your Money
The scanning landscape breaks down into three real tiers, and the right choice depends on how serious you want to get.
Flatbed scanners with film holders are the accessible entry point. The Epson Perfection V600 is the workhorse recommendation you'll see everywhere, and it earned that reputation. At around $200-250, it handles 35mm and medium format, produces files large enough for serious prints, and has reasonably good color fidelity. It's slow — scanning a full roll at high resolution takes time — but for most shooters building a home workflow, it's the right starting point.
Dedicated film scanners like the Plustek OpticFilm series step up the quality noticeably, especially for 35mm. The OpticFilm 8200i produces sharper results with better dynamic range than most flatbeds at this price point. If 35mm is your primary format and you're scanning a lot of material, the investment makes sense.
Professional lab scanning is still the gold standard for critical work. Many independent labs — including the wave of community labs we'll get to in a minute — offer high-resolution drum or Noritsu scans that simply outperform anything in the consumer price range. For your most important negatives, this is worth the cost.
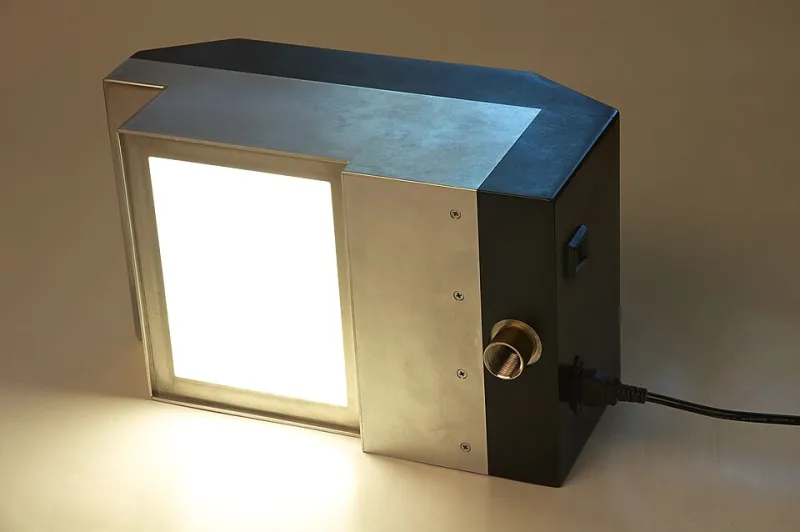
Smartphone scanning rigs have also gotten surprisingly capable. The Negative Lab Pro app paired with a simple light pad and a macro lens adapter can produce genuinely usable scans from your phone camera. It's not replacing a dedicated scanner for serious work, but for quickly moving through a large archive to identify what's worth investing in, it's a legitimate tool.
The AI Question: Useful Tool or Authenticity Problem?
This is where things get interesting — and a little contentious in the film community.
AI upscaling tools like Topaz Photo AI and Gigapixel have become genuinely capable of enhancing scanned film images in ways that weren't possible even three years ago. They can recover detail in underexposed shadows, reduce scan noise without destroying grain structure, and increase effective resolution for large print output. For archival work — restoring family photographs, preserving historical negatives — these tools are close to miraculous.
For contemporary creative work, the conversation gets more complicated. There's a real tension between using these tools to enhance an analog image and using them to transform it into something that no longer has an honest relationship with the original negative. Where that line sits is a personal decision, but it's worth making it consciously rather than defaulting to whatever the software suggests.
A useful framework: if the AI processing is helping you show what was actually on the negative more accurately, you're probably in good territory. If it's generating detail that wasn't there, you're making a new creative choice — which is fine, but name it as such.
Building a Post-Processing Workflow That Respects the Source
Once you have your scans, the temptation is to immediately apply heavy-handed editing. Resist it, at least initially. Good negative scans often need less work than you think.
Start with color correction in Lightroom or Capture One. Negative Lab Pro (the desktop version) is specifically designed for converting color negative scans and does an excellent job of handling the orange mask that makes raw negative scans look terrible. It's worth the cost if you're scanning color film regularly.
For black and white negatives, the workflow is simpler: invert, adjust levels, and then get out of the way. The grain, the tonal range, the slight imperfections — these are the things that make the image interesting. Over-processing is how you end up with a digital photograph that happens to have been sourced from film.
When you do want to push the creative work further — adding contrast, shifting tones, making compositional crops — think of it as a darkroom conversation rather than a digital override. What would you have done with this negative in a wet darkroom? Start there.
What This Hybrid Approach Actually Means for Film Photography
Some analog purists treat digitization as a kind of betrayal — the idea being that film photography should live and die in the physical world. That's a coherent position, but it's also one that leaves a lot of incredible images sitting in boxes, unseen and unshared.
The more useful framing is that digitizing your archive is an act of preservation and conversation. You're taking something that existed in one form and making it available in another, without destroying the original. The negative is still there. The scan is a translation.
And increasingly, the photographers who are doing the most interesting hybrid work — shooting on film, scanning carefully, processing thoughtfully, sharing widely — are the ones building the strongest connection between analog photography's past and its future. Your archive isn't a museum piece. It's a starting point.